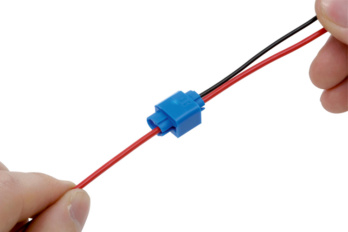
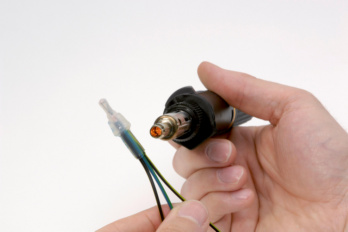
Heat-shrink crimp branch connector end connector


For detailed information, other images and documents, please select individual articles from the following table.


Heat-shrink crimp branch connector end connector
Branch connections from two to max. four wires

Exclusively for trade customers
Register now and access more than 15,100 products
Variants
Exclusively for trade customers
Register now and access more than 15,100 products
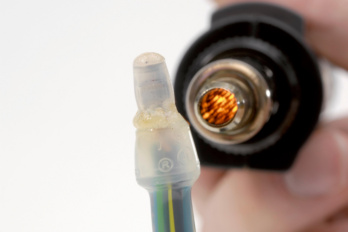
Transparent heat-shrink tubing
Straightforward visual monitoring of connection
Slimline design
Low space requirement
Shrinkage ratio of 4:1
Broad range of applications
Proof of Performance
RoHS-compliant
Notice
Avoid localised overheating of the heat-shrink tubing!
Application area
 Conventional method:
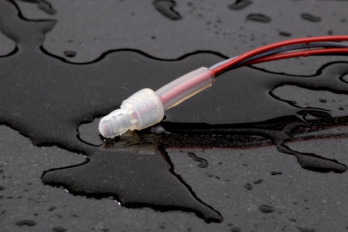
No dust and moisture density
Can only be used in dry areas!
 Heat-shrink crimp branch connector
Dust- and moisture-proofcan be used everywhere!
Conventional method:No dust and moisture density
Can only be used in dry areas!
Heat-shrink crimp branch connectorDust- and moisture-proofcan be used everywhere!
Instructions
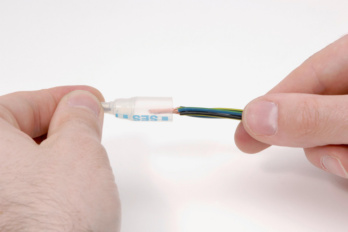 Strip the wire. Stripping length: Insert 16 mm. Conductor into the end branch connector.
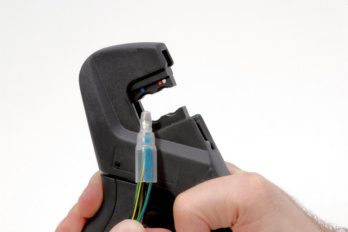 Produce crimping.
The colour code on the
heat-shrink tubing provides the
crimp die.
 Arrange the ladder so that hot
melt adhesive can flow into the
spaces
Shrink the heat-shrink tubing end
until the spaces
are filled with
hot melt adhesive
 Do not heat the crimp surface and connector head!
Strip the wire. Stripping length: Insert 16 mm. Conductor into the end branch connector.
Produce crimping.The colour code on the
heat-shrink tubing provides the
crimp die.
Arrange the ladder so that hotmelt adhesive can flow into the
spaces
Shrink the heat-shrink tubing end
until the spaces
are filled with
hot melt adhesive
Do not heat the crimp surface and connector head!
RoHS-compliant
Application area
Dust-proof and damp-proof connections
Select RAL-colour code
!! NOTE: On-screen visualisation of the colour differs from real colour shade!!